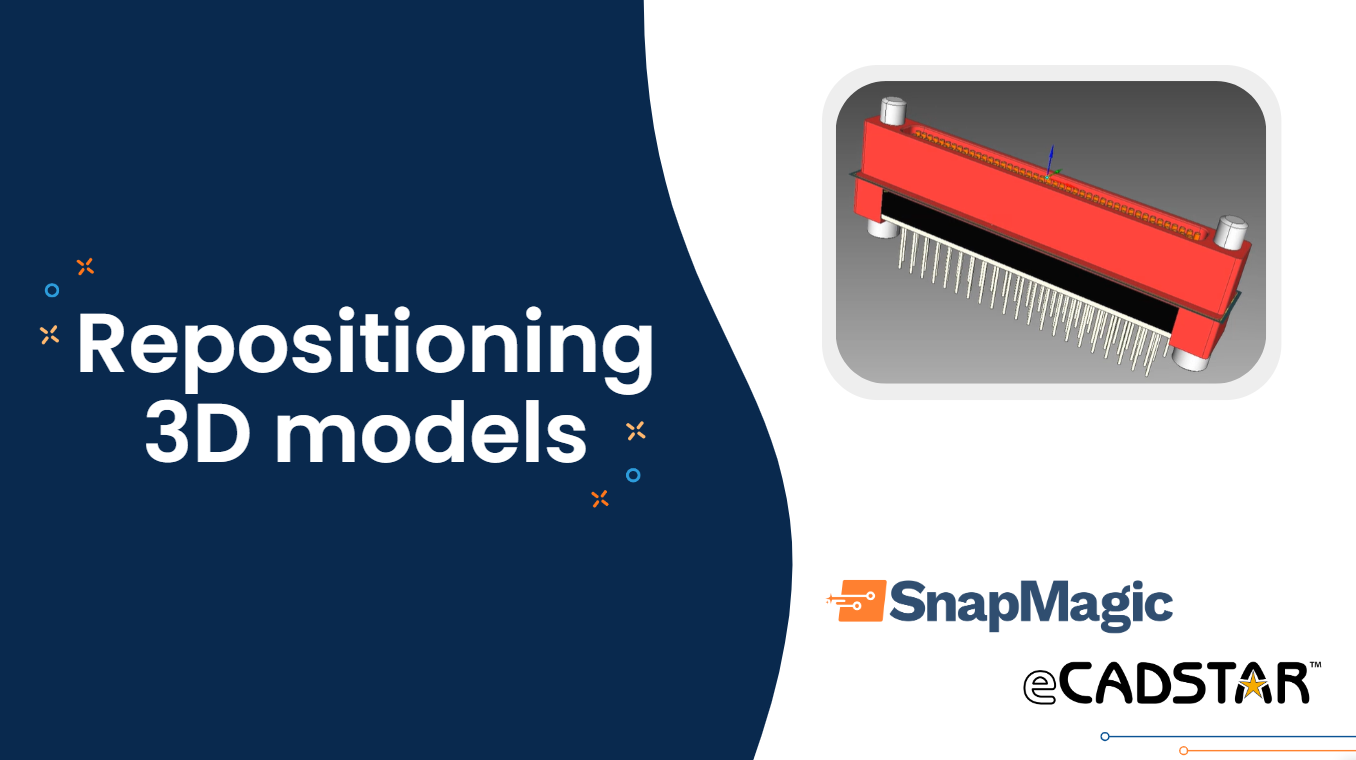
Repositioning 3D Models in eCADSTAR
When incorporating 3D models into your footprint, the CAD models may have different origin points. Here are two quick methods to reposition and align them accurately.
Initial import steps:
1. Load the library to eCADSTAR. Follow the import steps here
2. Open the footprint:
- Click File > Open Library > Select Library path > Search for the imported part > Right click over the selected part > Edit footprint
Method 1: Aligning the 3D model by manual repositioning
This method shows how to manually reposition a 3D model to align it with your eCADSTAR footprint.
1. Select the 3D Model tab > switch to 3D View
2. Select Move and drag the 3D model to position it against the PCB surface
3. To set the orientation to 0° against the PCB top surface:
- Select Align> click the origin of the footprint > click the origin of the 3D model > click Execute
4. If you need to rotate the 3D model:
- Select Move > rotate using Angles > click Execute
5. Continue to drag the model to align the leads with the PCB holes
6. Use the Preset View to check the bottom view and ensure leads are aligned with the holes/pads
7. Continue to adjust the position until the 3D model and the footprint is properly aligned
8. Use the Preset View again to confirm alignment from different views
Method 2: Aligning the 3D model by setting the coordinates
This method demonstrates how to align a 3D model with your eCADSTAR footprint by setting precise XYZ coordinates.
1. Select the 3D Model tab > switch to 3D View
2. If the model is below or above the PCB surface:
- Select Move > Coordinates > set Z value to the proper sitting plane > Execute
3. If you need to rotate the 3D model:
- Select Move > rotate using Angles > click Execute
4. Continue to align the 3D model by setting the X, Y and Z coordinates
- Select Move > Coordinates > set X, Y or Z values > Execute
5. Use the Preset View to check the bottom view and ensure leads are aligned with the holes/pads
6. Continue to adjust the coordinates until the 3D model and the footprint is properly aligned
7. Use the Preset View again to confirm alignment from different views


