

Tutorial: How to Create a New CAD Library Part in Eagle
Creating CAD parts can be tedious and time-consuming, but if you can’t find the CAD symbol or footprint you’re looking for and you’re on a tight timeline, sometimes it’s an essential task. SnapEDA has hundreds of thousands of CAD symbols and footprints that can be downloaded instantly for Cadsoft Eagle (as well as other design tools), and you can also request one from the community, but if you can’t find what you’re looking for, follow the instructions below to start creating one immediately.
Creating a New CAD Library Part in Eagle (SYMBOL, PACKAGE and DEVICE)
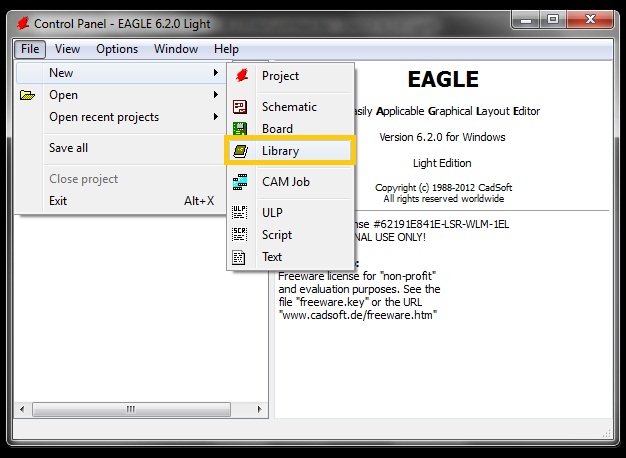
1. Go to Eagle, click File -> New -> Library
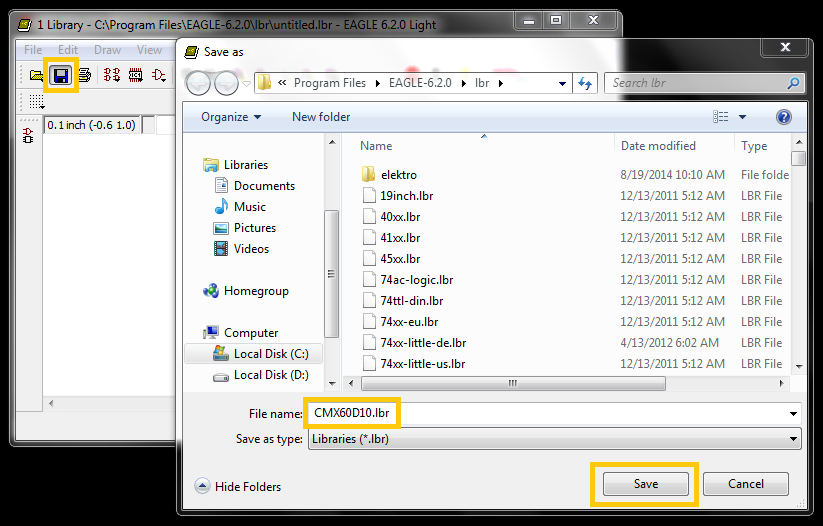
2. A new window with a blank worksheet will appear. Save it first using the device’s Part Name/Device Name. (Example : CMX60D10)
I. MAKING A SYMBOL
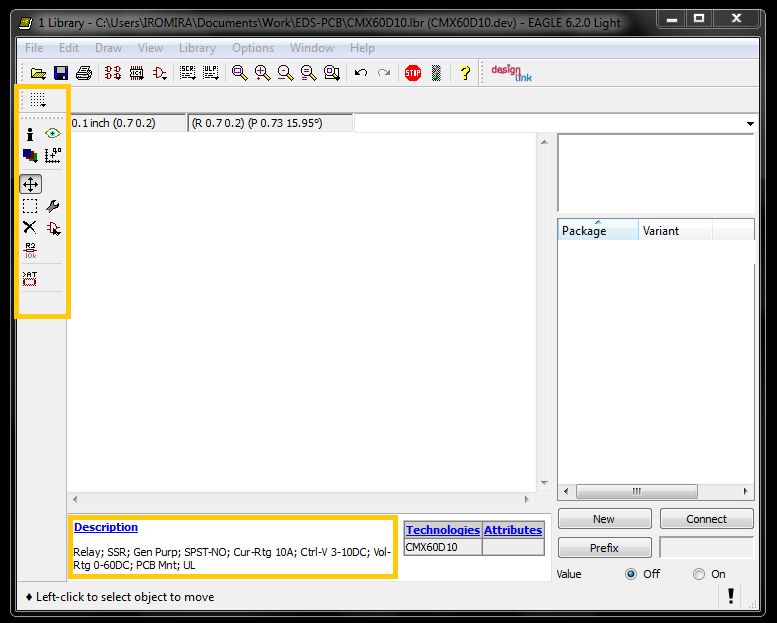
1. Click the Symbol button.
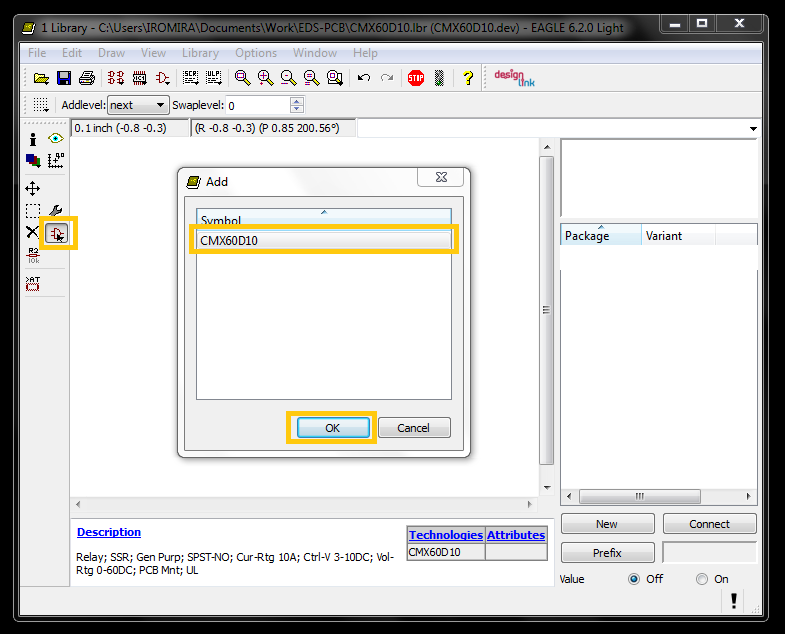
2. Enter the Part Name/Device Name as the Symbol Name and click OK. (Example : CMX60D10)

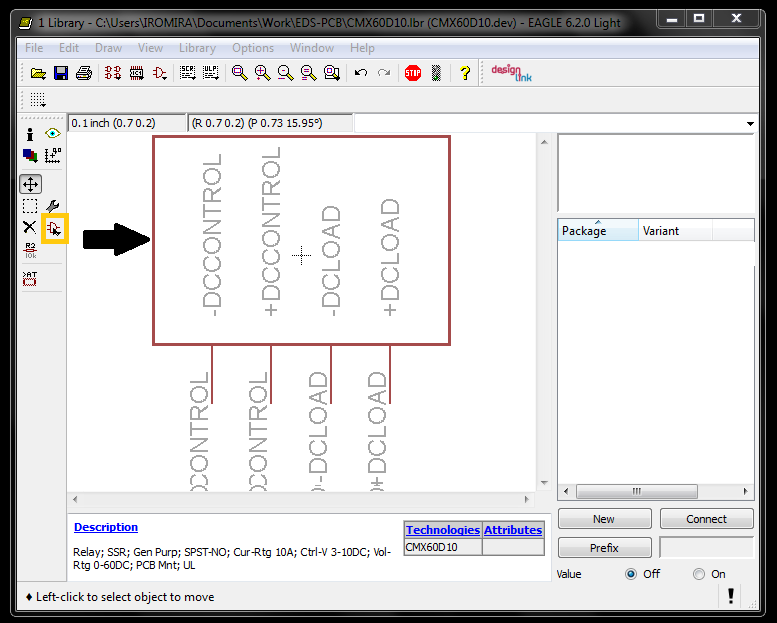
3. Enter the device’s description and start making your symbol!
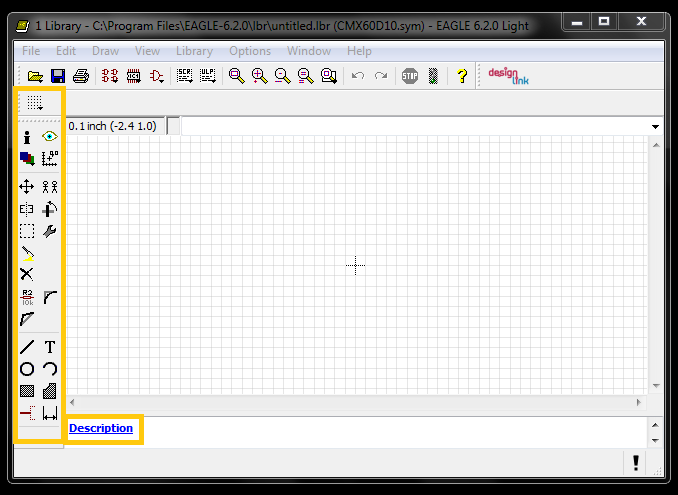
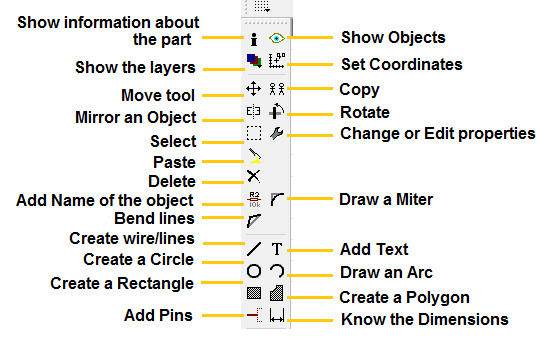
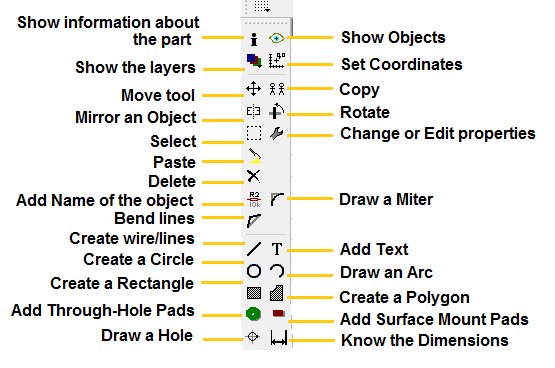
4. Get to know the tools!
Tip: In renaming pins, it is more convenient to name it according to the datasheet.
Example: Instead of just using Pin1, Pin 2, Pin 3 or Pin 4; use +DCLOAD, -DCLOAD, +DCCONTROL or -DCCONTROL.
5. Set the Page Grid, it adds convenience in creating the symbol.

II. MAKING A PACKAGE/FOOTPRINT
1. Click the Package button.
2. Enter the Package Type of the device as the Package Name. The format should be like this: Standard Package Type (Manufacturer Package Type). Then click OK.
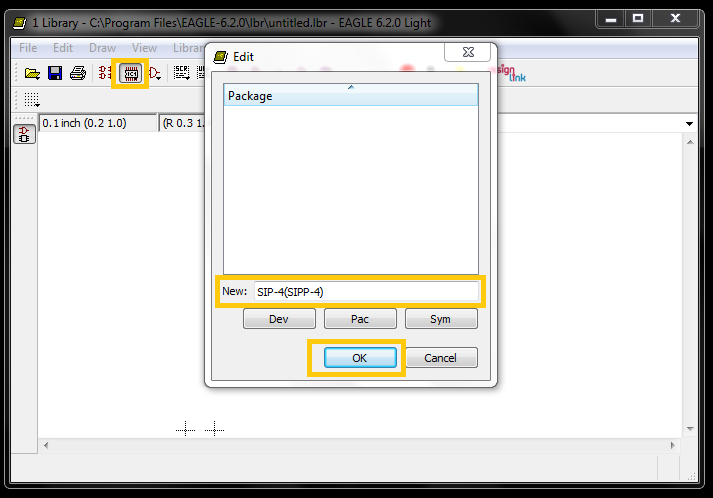
Example: SIP-4(SIPP-4)
3. Enter the device’s description and start making your package!
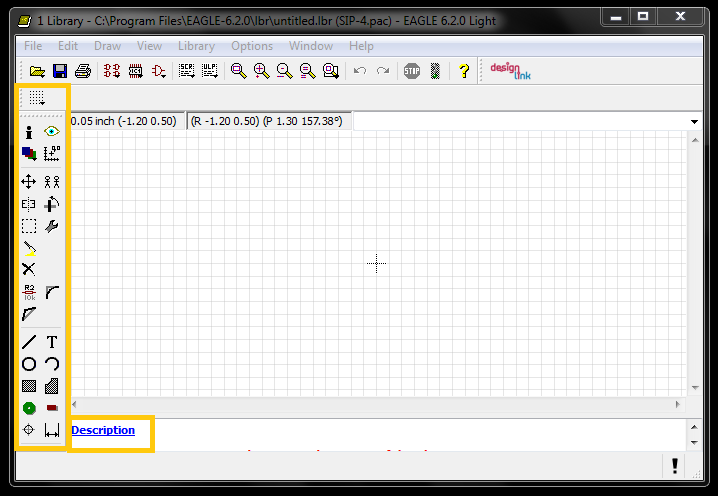
4. Get to know the tools!
Tip: In adding pads to your package/footprint, label it with the same names used in your symbol’s pins.
5. Set the Page Grid, it adds convenience in creating the package.
III. CREATING THE ENTIRE DEVICE (Last step to complete your Eagle Library)
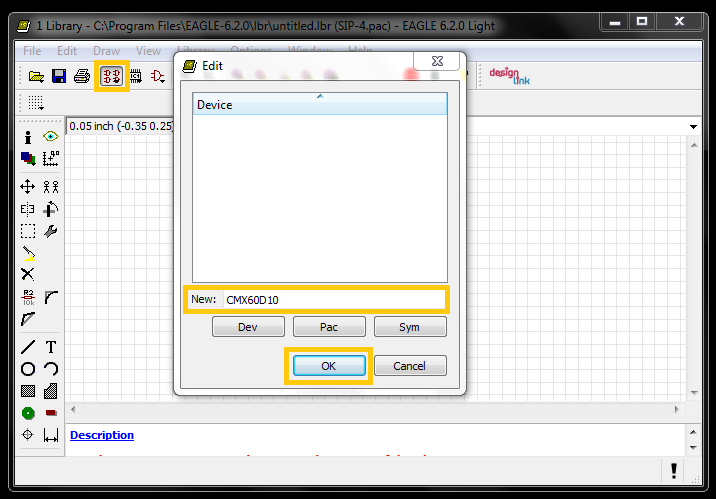
1. Click the Device button.
2. Enter the Part Name as the Device Name and click OK. (Example : CMX60D10)
3. Enter the device’s description and start creating your device!
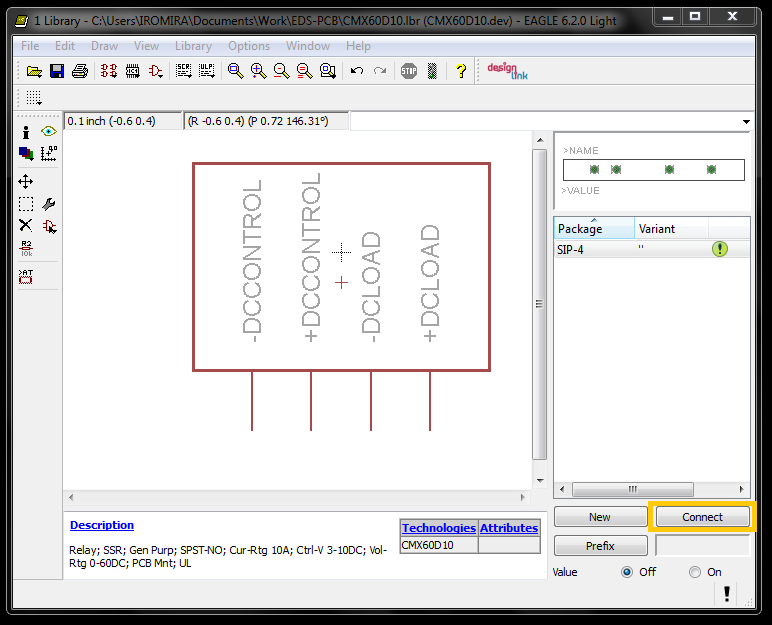
4. Click the Add Symbol button, choose the Symbol you created and click OK.
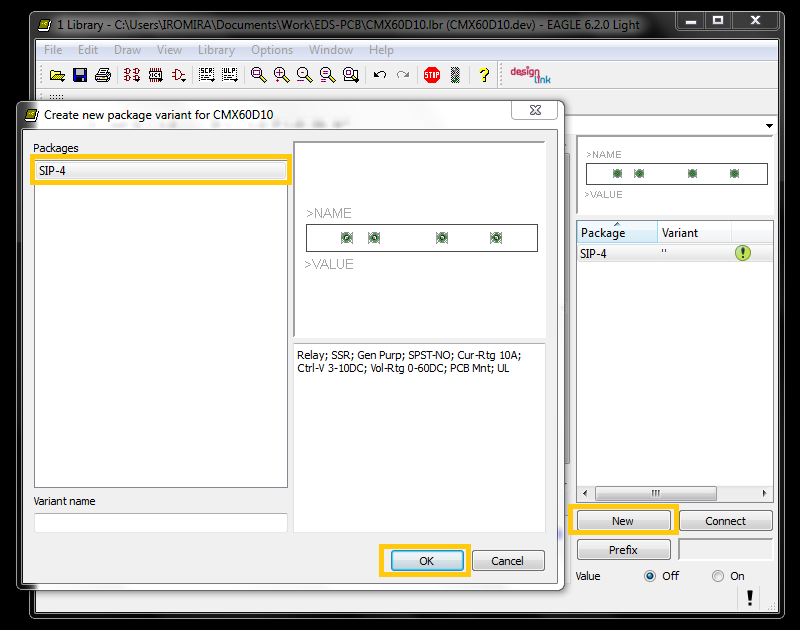
5. Add the Package/Footprint you created. Click New, choose the Package you made and click OK.
6. Click Connect to map the symbol and the package.
7. Connect the pins from the symbol with the pads from the package and click OK.
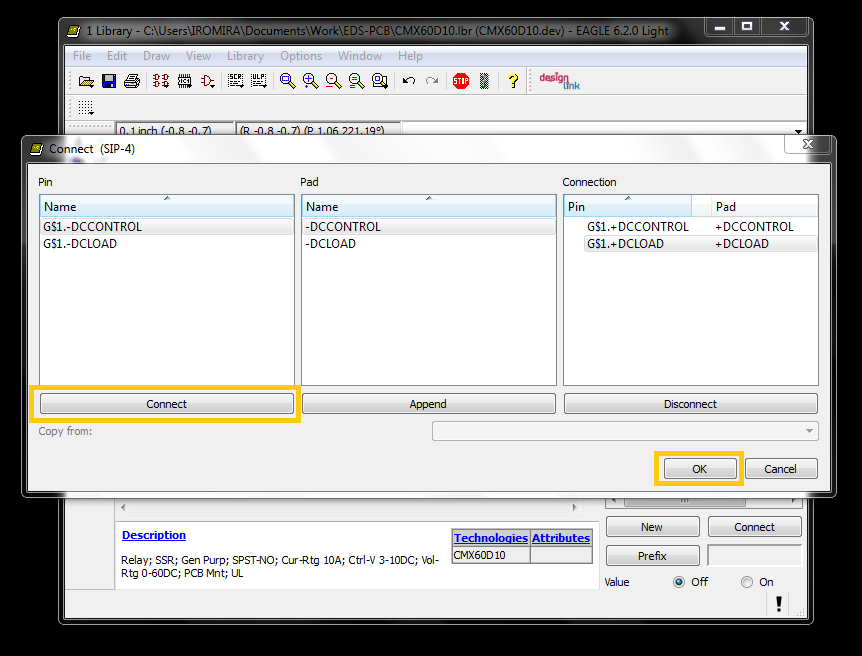
Note: Click Append for shared connections.
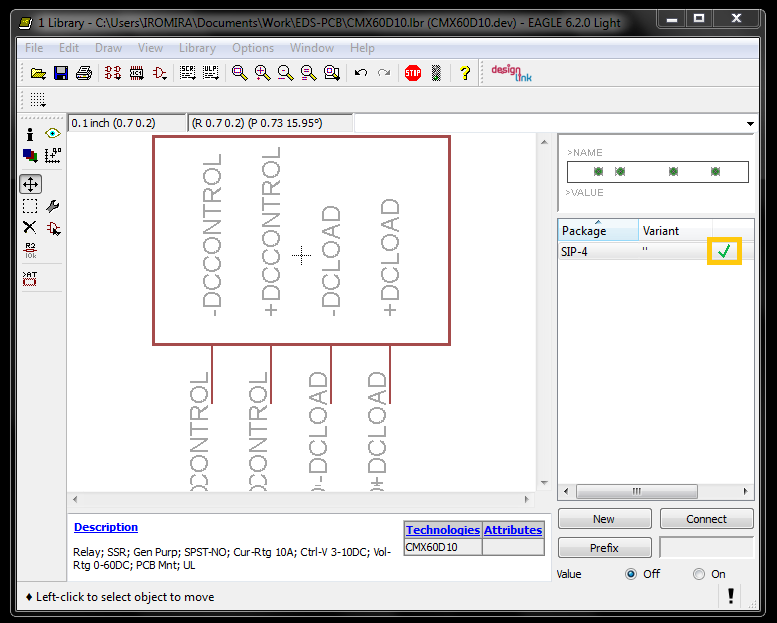
8. Notice the check mark and your device is complete and your Library has been made.


Comments (1)
vellfire
June 23, 2015 at 6:41 am
Thank you for tutorial ^_^